
Introduction
In this use case, we focus on the Pytorch library, an open source machine learning framework popular in the operational field for its ease of deployment in production. This quick tutorial will walk you through the necessary steps to train a Pytorch neural network for weather prediction on Qarnot.
Version
| Release year | Version |
|---|---|
| 2020 | 1.6.0 |
If you are interested in another version, please send us an email at qlab@qarnot.com.
Prerequisites
Before starting a calculation with the Python SDK, a few steps are required:
Note: in addition to the Python SDK, Qarnot provides C# and Node.js SDKs and a Command Line.
Test Case
The case presented here uses the weather dataset extracted from Rain in Australia. It contains 142193 samples of daily weather data from several regions of Australia. This problem is treated as a case of binary classification, 0 indicating that it does not rain and 1 indicating that it rains.
Before moving forward, you should setup your working environment to contain the following files:
inputpytorch.py: python script for launching the task on Qarnot (found below).
Launching the test case
Once everything is set up, use the following script in your favorite interpreter or compiler to launch the computation on Qarnot.
Be sure to copy your authentication token in the script (instead of <<<MY_SECRET_TOKEN>>>) to be able to launch the task on Qarnot.
To launch this script, simply copy the following code in a Python script and execute python3 pytorch.py & in your terminal.
Results
At any given time, you can monitor the status of your task on Tasq.
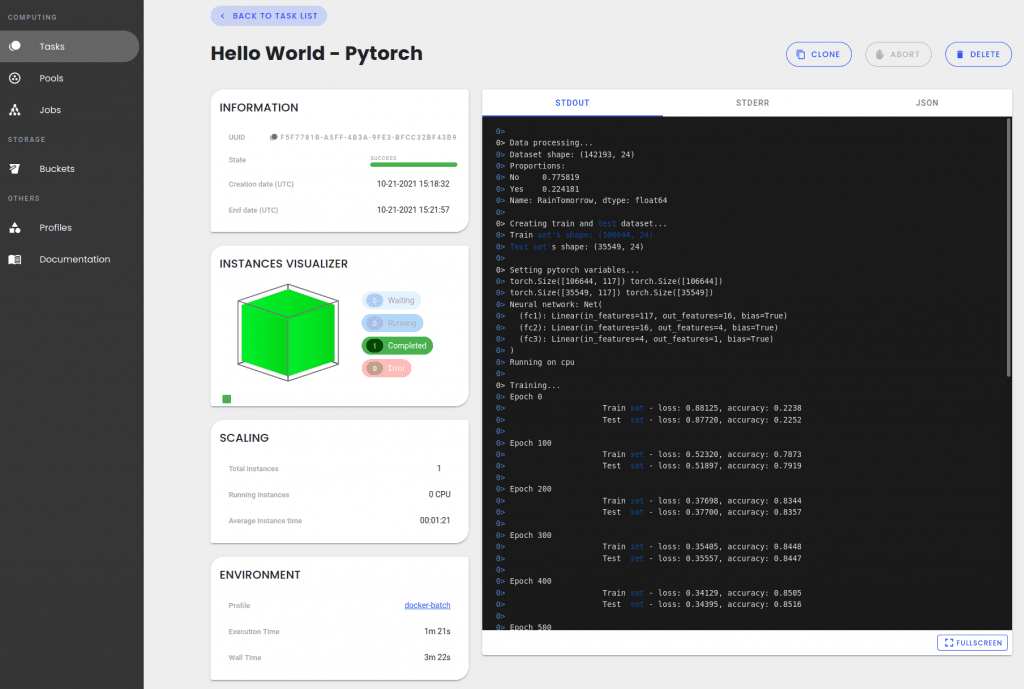
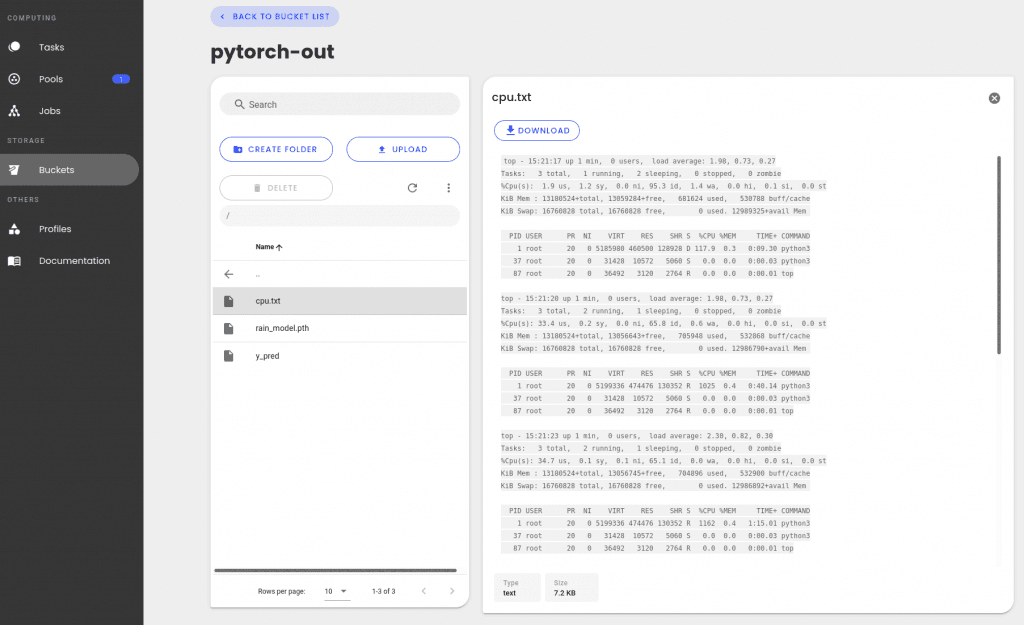
Once training is done, the task status should change to green. You can then check out the task's output bucket pytorch-out. There you will find various files like a training log, the predictions made and the actual trained model.
Wrapping up
That’s it! If you have any questions, please contact qlab@qarnot.com and we will help you with pleasure!
If you are curious and would like to learn more about this particular use case and others, you can check out our blog article which goes into much more detail.